I am retiring my Juicy Bites site soon. I have a new site, and I would love for you to take a look! My new site is focused on healthy recipes, clean beauty & skincare, health & wellness, shopping links for all of my favorite things, and so much more. You will find all of the best Juicy Bites recipes on Rhonda In Real Life, as well as new ones. After I turned 50, I made a lot of changes to my lifestyle to improve my health and longevity. I share this journey on my new site in hopes that I can help others looking to improve their health and feel better every day.

I have left Juicy Bites up temporarily to redirect anyone who visits to my new site, but it will eventually close once all of the recipes are moved over. If you would like to receive emails for all of my new posts on Rhonda In Real Life, please subscribe on the new site.
I would love to connect with you on my new site at RhondaInRealLife.com, on Instagram, or Facebook!
You can check out some of my latest posts here:
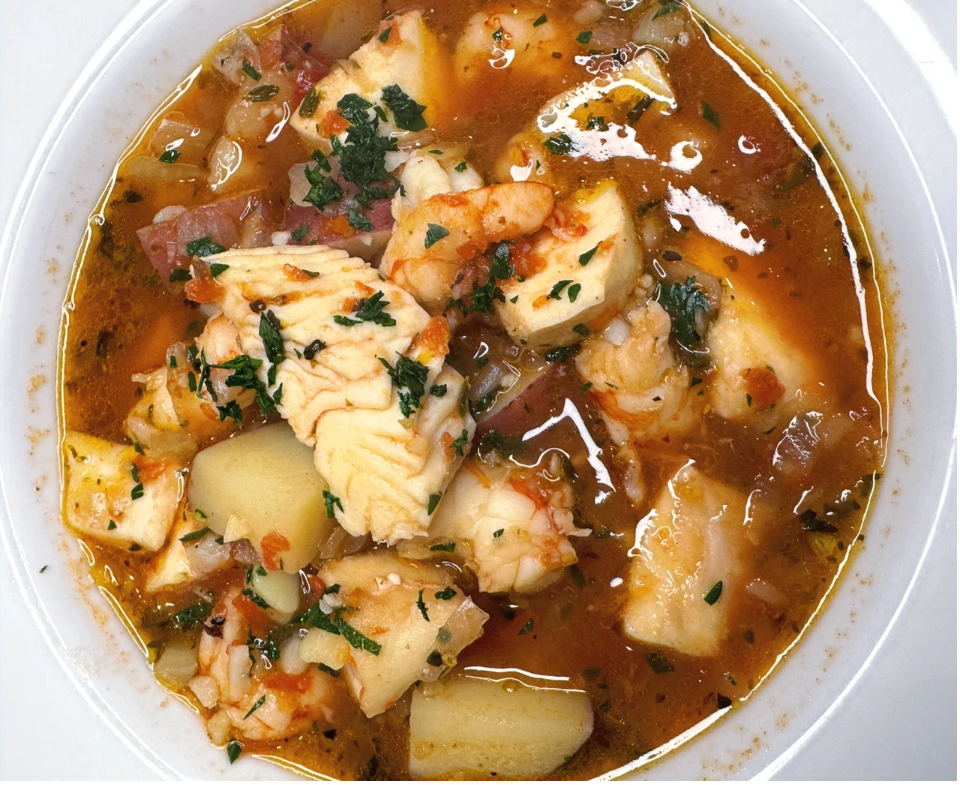
Simple & Delicious Seafood Stew
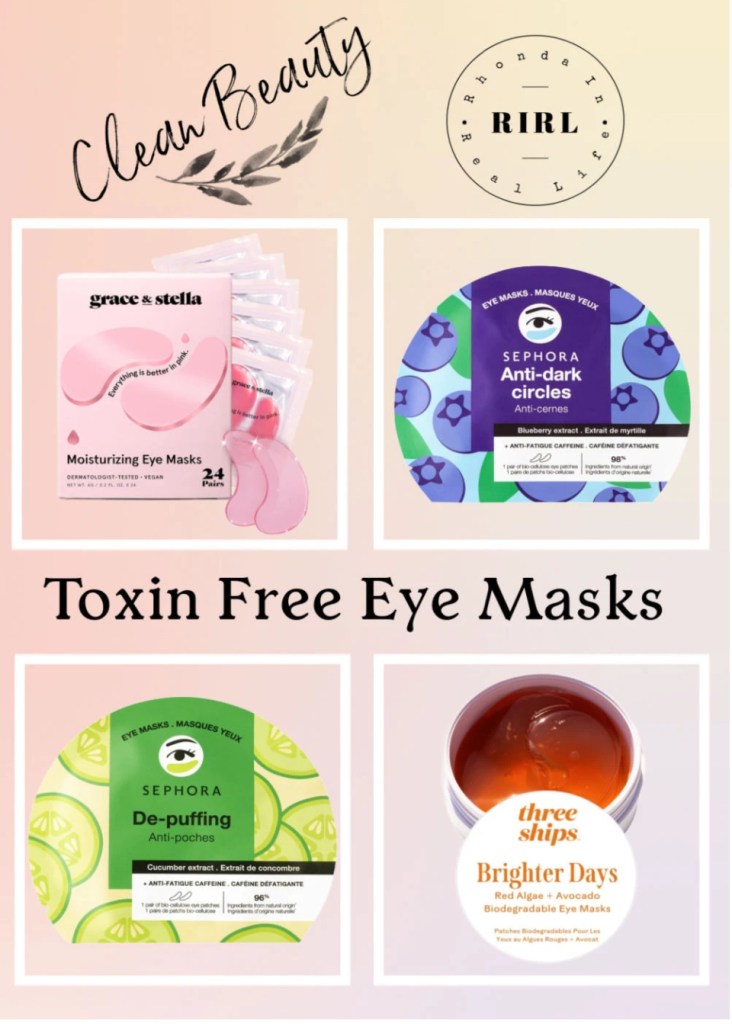
Clean Beauty: My favorite Eye Masks
Clean Beauty: My Favorites for a Fresh Spring Face